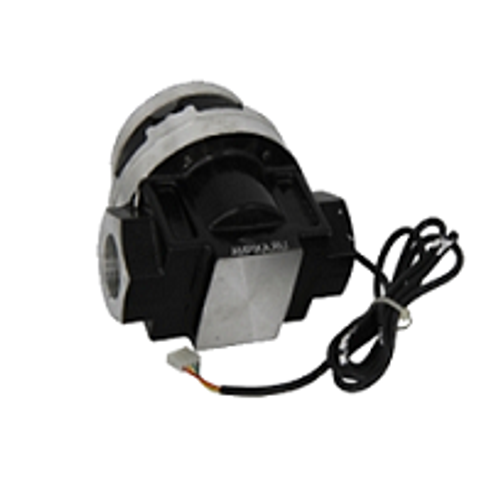
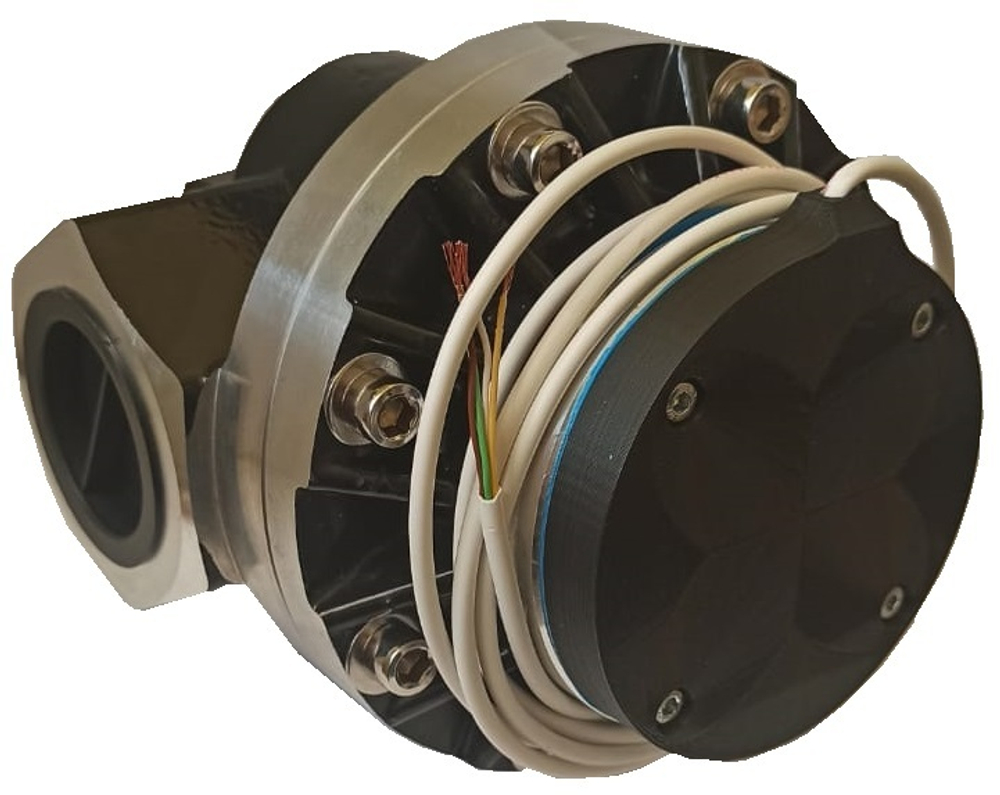
Installation of Ex-OGM liquid meters (with pulse output)
When installing pipelines, we recommend making a bypass line that will allow you to mount the meter for maintenance or replacement without stopping the liquid supply (see Fig.).
It is necessary to seal all threaded connections of the pipeline using a FUM tape.
Make sure that the pipes are designed for the maximum pressure supplied by the pump.
BE SURE to install a filter in front of the meter with a filtration fineness of no more than 30 microns.
The meter should be installed so that the flow direction coincides with the arrow indicated on the meter.
Attention! Incorrect installation can lead to failure
Feed the liquid into the meter gradually, opening the valve in order to avoid water hammer, which can damage the counting mechanism.
Check the system for leaks.
Check the filter after the first 200 liters of pumped liquid, because foreign objects could get into the pipeline during installation.
service
The meter does not require maintenance, but if a filter is not installed in front of it, dirt may get into the working cavity and the gears may jam.
In this case, it may be necessary to disassemble the meter to remove a foreign object.
Attention! When the meter is operating without a fine pre-filter, it may fail. This IS NOT A WARRANTY CASE!!!
DISASSEMBLY of THE METER Ex-OGM liquid meters (with pulse output)
Before disassembling, disconnect the meter from the pipeline and drain the liquid from it.
Unscrew the screws and remove the lid located under them.
Unscrew the 6 screws and remove the plate.
Unscrew the eight screws and remove the lid.
Remove the rotors.
ASSEMBLY OF THE METER Ex-OGM liquid meters (with pulse output)
Clean all the counter parts
Before assembly, check the rotors for chips and other mechanical damage. Replace it if necessary.
When replacing the rotors, make sure that they are positioned at an angle of 90° to each other (see Fig.). After installation, check the rotation of the rotors. They must move freely.
If the rotors are not moving. Then swap them.
If the rotors are installed incorrectly, the meter will not work
Inspect the gears located in the lid.
If necessary, clean them or replace them
Check the integrity of the O-ring and replace it if necessary
Inspect and, if necessary, clean the drive gears of the reader unit.
Lubricate the gears.
Assemble the meter in the reverse disassembly sequence (see the "Disassembly" item).
Equipped with a rotation sensor of our own production TN VED Code 9028200000


